A roofer may need to cover the hole in your roof before an insurance adjuster can visit. A water-removal crew may need to pull up soaked flooring before anyone knows what’s underneath. A home insurance claim often starts while the evidence is changing, so the order of your first steps matters: protect people, record the damage, prevent more loss, and tell your insurer what happened.
You don’t need a finished repair estimate to report a claim. You do need to keep a clear record of what was damaged, what you spent to protect the property, and what you told the insurer. That record will help you review the adjuster’s estimate rather than simply accept or reject its total.
Start with safety, then prevent further damage
Stay out of areas with structural damage, standing water near electrical equipment, a suspected gas leak, or downed power lines. If authorities have restricted access after a disaster, wait until they say it’s safe to return. For a burst pipe or other manageable water leak, stop the water if you can do so safely. Don’t climb onto a damaged roof to take pictures; use a qualified professional if the work is hazardous.
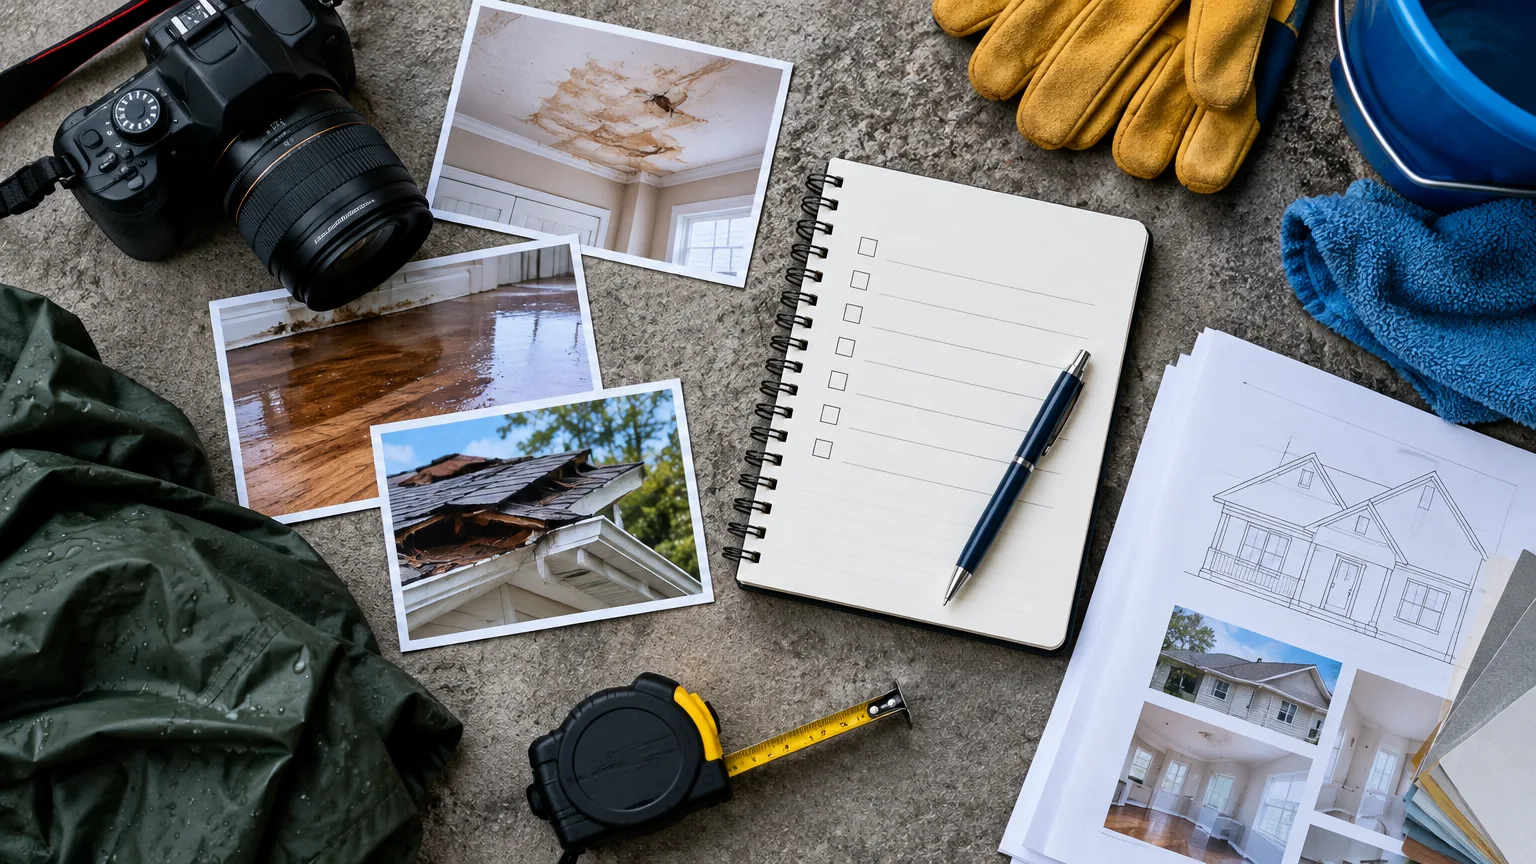
Once you can safely access the property, take photos and video before cleanup changes the scene. Then make reasonable temporary repairs: board up a broken window, arrange for a roof tarp, or bring in a drying crew. Protecting the property from further damage is an important part of the claims process. Keep invoices, receipts, work orders, and photos of the temporary work. Ask the insurer about expensive emergency services as soon as possible, but don’t leave the house exposed while waiting for an inspection.
Avoid extensive permanent repairs until the insurer has had a chance to assess the damage, unless waiting would be unsafe or cause more loss. If something must be removed, photograph it in place and ask whether the adjuster wants a sample or an opportunity to inspect it. Don’t keep materials that pose a health hazard simply to preserve evidence; document them thoroughly before disposal.
Build a damage record the adjuster can use
Take wide shots showing where the damage is, then close-ups showing its condition. Work through each affected room and the exterior. Photograph ceilings, walls, floors, windows, roofing visible from a safe location, and damaged belongings. For appliances and electronics, capture make, model, and serial numbers when possible.
Make two lists: one for damage to the building and other structures, and another for personal belongings. For each damaged item, record a description, approximate age, condition before the loss, and what happened to it. Add purchase receipts, manuals, past photos, or order histories if you have them. If those records were destroyed, work from memory and household photos rather than leaving items off the list. The National Association of Insurance Commissioners’ inventory guidance recommends documenting damaged property with photos and a written list before meeting the adjuster.
Write down the date you discovered the damage and what you know about its cause. Distinguish what you saw from what a contractor suspects. For example, “water entered through the living-room ceiling during the storm” is an observation; “the roof needs full replacement” is a proposed repair that still needs assessment.
Keep everything in one claim folder: photos, lists, estimates, receipts, emails, and notes from calls. Name files by room or location so you can find them when the adjuster asks. If theft or vandalism is involved, report the crime to police and retain the report information for your insurer.
Report the claim without waiting for every estimate
Contact your insurer or agent promptly through its claims phone line, website, or app. Give your name, policy number if available, property address, contact details, the date of loss or discovery, and a straightforward description of the damage. Say what emergency work has been done and whether you can live in the home. Ask for a claim number and the name or contact method for the person handling the claim.
Use that first conversation to pin down the process:
- What information and forms do you need from me, and when are they due?
- When should I expect an adjuster or an inspection?
- How should I submit photos, receipts, and contractor estimates?
- Which deductible may apply, and what coverage or limits should I review?
- If I need temporary housing, how do I document those costs?
A deductible is your share of a covered loss, not an amount you normally pay to the insurer before it starts work. For a small loss, compare the likely repair cost with the deductible before deciding whether to file. But don’t put off reporting substantial or uncertain damage while you gather bids: claim-reporting time requirements vary.
Check the cause of the damage against your policy rather than assuming every kind of water or storm damage is treated alike. Most homeowners policies do not cover flooding, which generally requires separate flood insurance. If floodwater may be involved, contact your flood insurer as well. For broader context on how payments can be constrained, review your dwelling and belongings coverage limits.
If the home is unlivable, ask specifically about additional living expenses, often called loss-of-use coverage. Save lodging receipts and records of other extra costs. Coverage and limits depend on the policy; the fact that an expense arose after the loss does not, by itself, mean it will be reimbursed.
Get repair estimates that explain the work
A useful contractor estimate does more than state a price. It identifies the damaged area, the work needed, material type and quality, quantities, labor, and any proposed demolition, drying, or related repairs. An itemized estimate lets you compare it with the insurer’s estimate line by line.
Seek bids from qualified contractors who can explain what they observed. Ask whether the estimate covers visible damage only or includes work that may be needed after a wall, ceiling, or floor is opened. If the scope changes during repairs, have the contractor photograph the newly exposed damage and prepare a written change estimate for the insurer. Don’t assume a higher bid proves the adjuster is wrong: the bids may cover different work.
Check licensing requirements, references, and proof of insurance before hiring a contractor. Be wary of pressure to sign immediately or pay the entire job upfront. An assignment of benefits can transfer control of parts of your claim to a contractor; you don’t have to sign one to have repairs completed. Read any contract closely, especially language about who receives insurance payments and who owes any balance the insurer doesn’t pay.
Walk the damage with the adjuster
The insurer may send a staff adjuster or an independent adjuster it hires. Neither is the same as a public adjuster, whom you hire and pay to help with your claim. The insurer’s adjuster will inspect the property and prepare an assessment for the company; the inspection is your chance to point out damage that photographs alone may not make clear.
Be present if you can. Bring your room-by-room list, photos, emergency-work receipts, and any contractor bids you’ve received. Show the adjuster damaged areas, including accessible spaces outside the main rooms, and identify places where damage may be concealed. If a contractor has found a specific concern, ask the contractor to explain it or be available for questions. The NAIC’s post-disaster claims guide advises homeowners to share their records during the inspection and ask what happens next before the adjuster leaves.
Take notes. Get the adjuster’s name and contact information, ask when you’ll receive the estimate, and confirm where to send later information. After calls or visits, a brief email recording what was discussed can prevent confusion over whether you reported an item or requested another inspection.
You can hire a public adjuster for a large or difficult claim, but understand the fee and contract first. Check your state’s rules and any licensing requirement. An insurer is not required to accept a public adjuster’s estimate simply because you hired one.
Read the estimate before treating a payment as final
Request the insurer’s written estimate and compare its scope with your damage list and contractor’s bid. Look for omitted rooms or belongings, incorrect measurements, different material quality, and charges for necessary work that one estimate includes but the other does not. Ask the adjuster to explain each meaningful difference in writing. The first productive question is often “What work is missing?” rather than “Why is the check so small?”
Then check how the payment was calculated. Your policy may pay replacement cost—the covered cost to repair or replace with similar materials—or actual cash value, which accounts for depreciation. Even with replacement-cost coverage, an insurer may initially pay a depreciated amount and release an additional amount after you show that repairs or replacement were completed. Ask what proof is required and what deadline applies. Check separately how your roof and belongings are valued; they may not follow the same terms.
For a simple illustration, if an agreed covered repair costs $8,000 and the applicable deductible is $2,000, the covered claim payment would be $6,000 before considering any other limits or valuation terms. That arithmetic doesn’t establish what the policy covers; the cause of loss, repair scope, and policy wording still decide that.
Claim payments may arrive in stages, including separate amounts for the structure, belongings, and additional living expenses. A mortgage lender may also be named on a structural-damage check. Before spending an advance, ask what it covers and whether more documentation is needed. Don’t sign a full and final release unless you understand what it would settle.
If the estimate misses damage, make the disagreement specific
Send the adjuster the affected line items, photos, and an itemized contractor estimate. Explain whether you’re disputing the amount of work, the price of that work, or the insurer’s coverage decision. Those are different problems. If demolition reveals more damage, notify the insurer promptly and ask how it wants to inspect or document the additional work before it is covered up.
If you cannot resolve an amount dispute, review the policy’s appraisal provision and its costs. Appraisal is generally a way to resolve a disagreement about the value of a loss, not a decision about whether the policy covers it. For a coverage denial or a stalled claim, request the insurer’s explanation in writing and ask a claims supervisor to review it. Your state insurance department can also receive a complaint; it can explain the complaint process but cannot replace advice from an attorney on a serious legal dispute.
Flood claims have separate policy requirements. Under the National Flood Insurance Program, a signed proof of loss is generally due within 60 days of the flood, unless FEMA extends the deadline. Ask the flood insurer about its required documents immediately rather than applying your homeowners claim timeline to the flood claim.
Keep the claim folder until repairs, replacement purchases, and any additional payments are complete. The strongest claim record isn’t necessarily the largest stack of paperwork; it’s one that lets the insurer see what happened, what was damaged, what the repair requires, and where an estimate needs to change.
Disclaimer
This article provides general insurance information, not advice about a specific policy or claim. Coverage, deadlines, and dispute options depend on your policy and state.