A stolen password is often enough to take over an account. Two-factor authentication changes the sign-in: after entering a password, you must prove you have access to something else, such as an authenticator app or a security key. That extra check can stop someone who has your password from signing in.
The setup takes only a few minutes on many accounts. The part worth planning is what happens later—when you replace your phone, lose a key, or discover that an account still allows text-message codes as a fallback. Start with your main email account, because it’s commonly used to reset passwords elsewhere. Then protect your password manager, financial accounts, cloud storage, and any account that can publish or purchase on your behalf.
What counts as two-factor authentication?
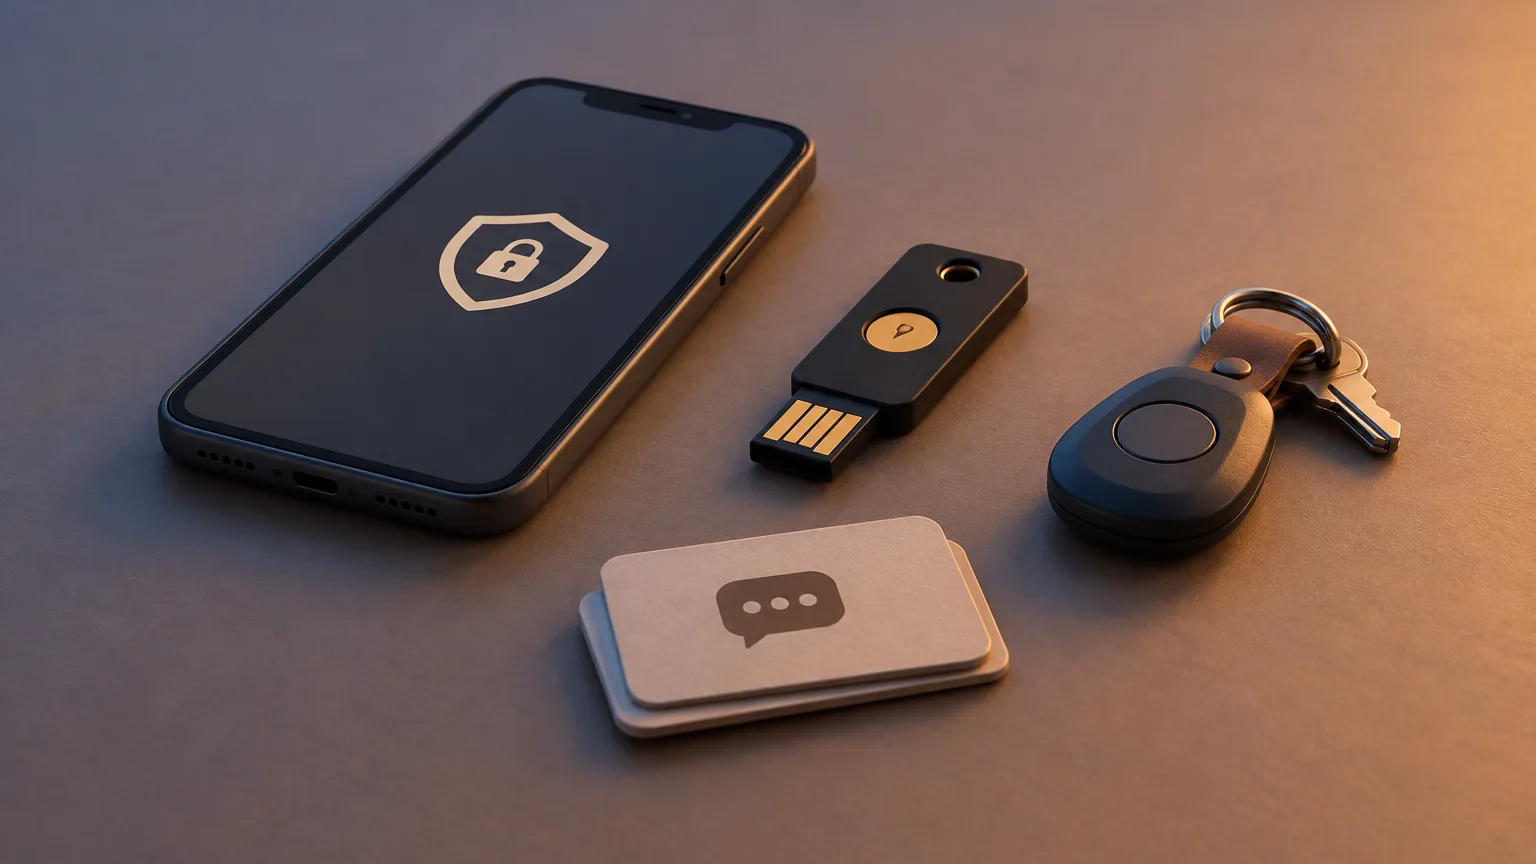
Two-factor authentication, or 2FA, combines two different kinds of proof. A password is something you know. A phone running an authenticator app or a physical security key is something you have. Sites may call the feature “two-step verification” or “multifactor authentication,” and the sign-in screens won’t always look alike. For example, an account may ask for a code on a new device but remember a personal computer you’ve used before. The Federal Trade Commission’s explanation of authentication factors is a useful way to understand what the extra step is doing.
A passkey is related but not identical. It can let you sign in without typing a password or a separate six-digit code. Passkeys and compatible security keys use FIDO authentication tied to the service’s domain, which helps prevent a fake website from accepting the sign-in. If an account offers both passkeys and conventional 2FA, read its sign-in options rather than assuming one setting controls the other.
Choose the method before you switch it on
For most people, an authenticator app is a strong, convenient starting point. A security key is worth considering for an especially important account or one exposed to targeted phishing. SMS is still useful when it’s the only extra step a service offers, but it shouldn’t be your first choice when stronger options are available.
| Method | How it works | Best reason to use it | Main limitation |
|---|---|---|---|
| Authenticator app | Generates a short-lived code on your phone or tablet; some services use app approval prompts instead | No text-message delivery needed, and no physical key to carry | A code can be entered on a convincing fake sign-in page; you need a plan for replacing your phone |
| FIDO security key | Connects by USB or taps by NFC, depending on the key and device | Strong protection against phishing when the account supports it | You need a compatible key, a way to use it with your devices, and a backup if it’s lost |
| SMS code | Arrives by text at your phone number | Works with many services and needs no separate app or key | Phone-number takeover and text delivery problems can put the code out of reach—or in someone else’s hands |
The distinction matters most when an attacker sends you to a fake sign-in page. They may be able to use a password and an authenticator or SMS code you type there. A FIDO security key is designed to check the site it’s signing in to. SMS has the additional risk of a SIM-swap attack, in which someone takes over your phone number and receives its messages. Even so, a text code is better than leaving an account protected by a password alone.
An authenticator app usually creates codes without cellular service or an internet connection. Google Authenticator and Microsoft Authenticator are two examples, but use an app that supports the method your account offers. Approval prompts are different from generated codes: if one appears when you aren’t signing in, deny it. Don’t approve a prompt merely to make repeated notifications stop.
If you buy a security key, check that it supports FIDO sign-in and that its USB connector or NFC capability works with the phones and computers you use. A key can be registered as a second step on some accounts; a FIDO2 key may also hold a passkey for passwordless sign-in. Those are different setup choices. Google’s security-key instructions distinguish the two.
Set up 2FA without losing your way back in
The menu names vary by service, but the safe sequence is consistent:
- Open the account yourself. Use its app or type its address into your browser. Don’t begin from an unexpected email or text urging you to “secure” your account.
- Find the sign-in settings. Look under Security, Sign-in, Two-factor authentication, or Two-step verification. Confirm that you’re changing the account you intend to protect.
- Choose your method and follow the prompts. For an authenticator app, you’ll typically scan a QR code shown by the service, then enter a code from the app to finish enrollment. For a security key, connect or tap it when asked and complete any device prompts. For SMS, verify the number and enter the code you receive. Don’t share an enrollment QR code or setup secret: someone with it may be able to generate your codes.
- Add a recovery option while you’re signed in. Save backup codes if the service offers them, or register a second security key or other supported method. Store recovery information somewhere you can reach without the phone or key you normally use.
- Test a sign-in. Check the method on a device or browser you can safely sign out of, while keeping an existing signed-in session available until you know the new setup works.
For a concrete example, Google places its 2-Step Verification setup under Security & sign-in. Microsoft personal accounts use the Security tab, then “Manage how I sign in” and the Two-step verification setting; Microsoft recommends keeping multiple pieces of security information so losing one method doesn’t leave you stuck. Work or school accounts may have different screens or administrator-set rules.
Don’t expect every account to accept every method in the table. Apple Accounts, for instance, use trusted devices and trusted phone numbers for verification codes, rather than presenting the same generic authenticator-app setup you might see on another site. Check the options offered by each account before deciding how you’ll recover it.
Treat backup codes as spare keys
Backup codes are meant for the day your usual method isn’t available. They aren’t disposable setup paperwork. Save them when you enroll, not after your phone is missing.
A printed copy kept with important documents is one option. An encrypted password manager is another, provided you have a separate way to regain access to the manager if the same lost phone is needed to unlock it. If you’re choosing one, focus on how a password manager works across your devices and handles recovery. Avoid leaving an unencrypted screenshot in your photos or sending codes to yourself by email.
Rules vary by account. With Google, each backup code works once, and generating a new set invalidates the old set. Other services may use a single recovery code, multiple codes, or a different recovery process. Label what you save so you know which account it belongs to, and never give a code to someone who contacts you asking for it.
A spare security key provides another way in. Register it with the important accounts that accept keys, test it, and keep it separate from your everyday key. Recovery deserves the same care as sign-in: a strong security key helps less if a weaker fallback can still be used to take over the account. Review the available sign-in and recovery methods before removing any of them; don’t disable your only working alternative.
Keep the setup working when devices change
Transfer authenticator access before wiping or trading in an old phone. Some apps sync codes through an account; others offer a device-to-device transfer, and some entries may need to be set up again with the service. For example, Google Authenticator supports syncing or a manual code transfer. Check which mode you use, protect any account that stores synced codes, and test sign-ins on the new phone before erasing the old one.
If a phone or security key is lost, use a backup method to sign in, then remove the missing device or key from the affected accounts. Replace it and update your recovery options. If you can’t sign in, use the service’s account-recovery process from its official app or website. Recovery may take time, and a password by itself may not be enough.
Finally, review your settings after changing a phone number, replacing a device, or receiving an unexpected sign-in alert. Check which methods are enrolled, which devices are trusted, and where recovery messages go. Never read a verification code to a caller or enter one into a page reached through an unsolicited link.
For a first pass, protect your main email account with an authenticator app or security key, save a recovery method, and test it. Then work through the accounts that would be hardest to recover—or most damaging to lose.